Planning Your Cars 3 Diecast Custom Build
Embarking on a Cars 3 diecast customization project is an exciting endeavor, but it requires careful planning to ensure a successful outcome. Before you even touch a tool or open a paint can, take time to envision your finished product. What specific character or design are you aiming for? Gather inspiration from online resources, car shows, or other custom diecast examples. Consider the level of detail you wish to achieve, as this will influence the tools, techniques, and time required. A well-defined plan will keep you on track and prevent costly mistakes.
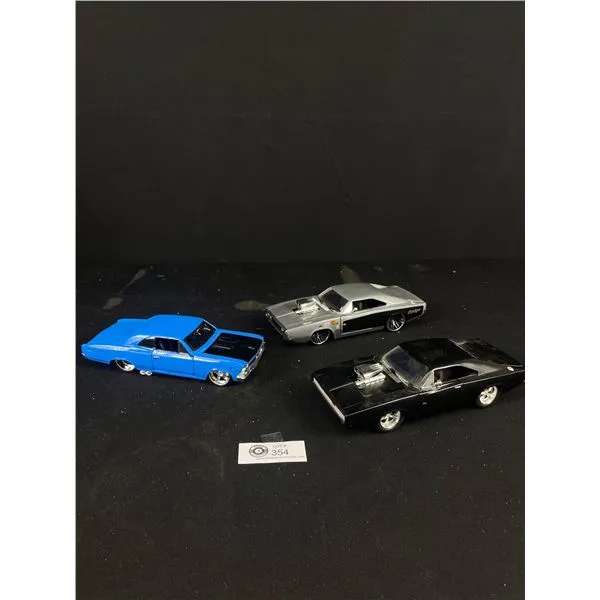
Choosing Your Cars 3 Diecast Base
Selecting the right base diecast is crucial for your customization project. The Cars 3 diecast model you choose will serve as the foundation for your creation, so choose wisely. Consider the character you want to represent and the details it has. Some models are more suitable for certain types of modifications than others. Evaluate the availability and cost of the base model, as this will impact your overall budget. Consider a model with a shape similar to your final goal.
Selecting the Right Scale

Scale is a critical factor in diecast customization. Common scales include 1:64, 1:43, and 1:24, with 1:64 being the most common and often the most accessible for Cars 3 diecast models. The scale dictates the size and the availability of aftermarket parts. Larger scales offer more room for detail, while smaller scales are more practical for display. Consider the detail you want to achieve and the space you have available for display. Your skill and the parts available must also be considered.
Evaluating Diecast Condition
Before you begin, carefully evaluate the condition of the Cars 3 diecast model. Inspect the body for any damage, such as scratches, dents, or missing parts. Examine the wheels, axles, and other components to ensure they are in good working order. The base diecast’s quality will impact the final result. A model in excellent condition will require less preparation. A model in poor condition may require more work. Consider whether any defects will be hidden during the paint and customization steps.
Gathering Your Customization Tools
Having the right tools is essential for any custom diecast project. The tools you’ll need will depend on the scope of your customization. Gather the tools and materials before starting to avoid delays during the project. A well-equipped workspace will make the process smoother and more enjoyable. Invest in good quality tools. They will last longer and provide better results. A dedicated workspace will also increase efficiency. Organization and planning are key.
Essential Tools and Supplies

Your basic toolkit should include a hobby knife, small screwdrivers, pliers, and sandpaper. A paint stripper or thinner is necessary for removing the original paint. Primers and paints, along with brushes or an airbrush, are crucial for applying color. Decals and clear coat are essential for adding details and protecting your work. Don’t forget safety equipment like gloves, masks, and eye protection. Have all your supplies on hand.
Safety Gear and Workspace Setup
Safety should be a priority when working with paints, solvents, and other chemicals. Ensure you have a well-ventilated workspace to avoid inhaling harmful fumes. Wear a respirator or dust mask to protect your lungs when sanding or painting. Use gloves to prevent skin contact. Protect your work surface with a drop cloth or protective covering. A well-lit workspace will also allow you to see details clearly. Proper safety measures ensure you can enjoy your project safely.
Disassembly and Preparation
Before painting, you must disassemble the Cars 3 diecast model. This involves carefully removing the wheels, windows, and interior components. The goal is to prepare the model for painting. Take care not to damage the model during the disassembly process. Keep track of all the parts by storing them in a labeled container. This will help you during reassembly. The time spent on this stage is worth it. A good prep job will result in a great finished model.
Removing the Original Paint

Removing the original paint is crucial for a smooth, professional finish. You can use a paint stripper specifically designed for model cars or gently sand the surface. Paint strippers are effective. Sanding takes more time. Choose the method that suits your experience. Be patient. Rushing the paint removal process can damage the underlying diecast. Ensure all paint is removed.
Using Paint Strippers Safely
When using paint strippers, always work in a well-ventilated area and wear appropriate protective gear. Follow the manufacturer’s instructions carefully. Apply the stripper evenly. Use a soft brush or cotton swab to gently remove the paint. Avoid getting the stripper on plastic parts. After removing the paint, thoroughly wash the diecast model with soap and water to remove any residue. Safety should always be considered.
Sanding and Priming the Diecast
After paint removal, lightly sand the surface of the diecast model to create a smooth surface. Use fine-grit sandpaper to avoid scratches. After sanding, apply a primer coat. Primer provides a base for the paint and helps it adhere to the metal. Apply the primer in thin, even coats, allowing each coat to dry completely. The primer coat prepares the surface for the custom paint job. Several light coats of primer will work better than one heavy coat.
Custom Painting Techniques

Painting is where your Cars 3 diecast model truly comes to life. You have several options for applying paint, each offering different levels of control and finish. Choose the method that suits your skill level and desired results. Taking your time and practicing proper techniques will make the painting process enjoyable and rewarding. Take advantage of online tutorials and practice techniques.
Choosing Your Paint Type
The choice of paint will influence the final look of your custom Cars 3 diecast. Acrylic paints are popular. They are easy to work with and clean up. Enamel paints offer a durable finish but require more time to dry and may require thinner for cleanup. Consider the colors and finish you want to achieve. Experiment with different paint types to find what works best for you. A good paint job requires a quality paint and knowledge of your paint.
Airbrushing vs. Spray Painting
Airbrushing provides the most control over paint application, allowing for fine details and gradients. However, it requires an airbrush, compressor, and a bit of practice. Spray cans are easier to use but may offer less control. For beginners, spray cans are a good starting point. For more detailed work, an airbrush is the way to go. The choice depends on your skill level and the details you want to achieve. Both methods require practice.
Applying Decals and Graphics

Decals and graphics add the final details to your Cars 3 diecast model. Carefully apply decals. Follow instructions to prevent air bubbles. Decals give a professional look. The quality of the decals will influence the final look. After applying the decals, you may need to add another clear coat to protect them. This stage requires patience. Practice makes perfect.
Creating Custom Decals
For unique designs, you can create custom decals using decal paper and a printer. Design your graphics. Print them onto decal paper. Seal the decals with a clear coat before applying them to the model. This allows you to add designs that are not commercially available. You will need design software. You will also need some trial and error to learn the process. Getting a perfect result requires time and patience.
Applying Decals Smoothly
Carefully cut out the decals. Soak them in water to release them from the backing paper. Slide the decal onto the model. Gently position the decal. Use a soft cloth or cotton swab to remove air bubbles. Let the decal dry completely before applying a clear coat. Apply the clear coat in thin, even layers to protect the decal. Decals make a huge difference in the final product. You have to learn how to apply them correctly.
Adding Custom Details and Finishing Touches

Once the painting and decals are complete, it’s time to add custom details. This may include modifying wheels and tires. Interior detailing is important. These finishing touches can make a good model great. The details add to the realism of your project. Consider your theme. Do not get in a hurry. Take your time and make your project a work of art.
Modifying Wheels and Tires
Wheels and tires can be customized to change the look of your Cars 3 diecast. Replace them with custom wheels. Paint the wheels for a different look. You may also need to modify the axles to fit the new wheels. Consider adding custom tires with unique tread patterns. Choosing the right wheels and tires can change the whole look of your project. Consider the overall style of your project when choosing your wheels and tires.
Interior Detailing and Customization
The interior is where you can add incredible detail. Paint the dashboard, seats, and other interior components. Add custom details to simulate seat belts, gauges, and other features. The interior is often overlooked. Paying attention to interior details will enhance the overall realism. Reference real-life car interiors. This will inspire you. Details can transform the look of the model.
Protecting Your Investment

After putting so much effort into your custom Cars 3 diecast, protecting your work is essential. This means applying a clear coat to protect the paint and decals. It also means proper handling and display. Follow these guidelines. You will ensure your project lasts. Protect your creation. Enjoy your work. It is a fun hobby.
Clear Coating for Protection
Applying a clear coat is the final step in protecting your custom diecast. The clear coat creates a protective layer that shields the paint and decals from scratches and UV damage. Choose a clear coat that is compatible with your paint type. Apply the clear coat in several thin, even layers. Allow each layer to dry completely before applying the next one. The clear coat will enhance the finish. It is very important to use several thin coats.
Displaying and Preserving Your Custom Cars 3 Diecast
Display your custom Cars 3 diecast model with pride. Keep it in a dust-free display case or on a shelf away from direct sunlight. Handle the model carefully to avoid scratches or damage. With proper care, your custom diecast will last for years. Sharing your creations online with other enthusiasts is a great way to get feedback. Remember. you have created a work of art!