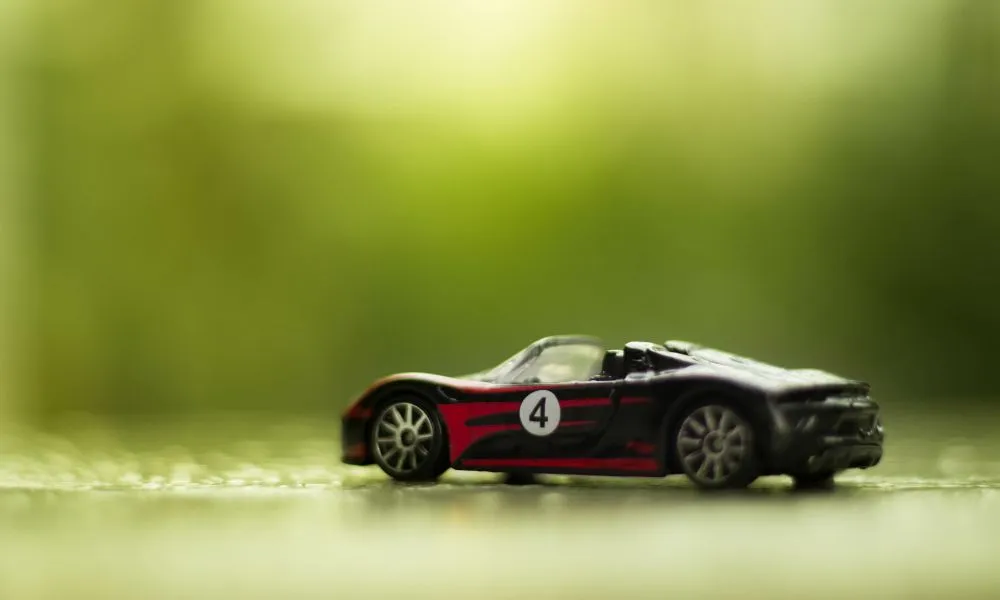
Choosing the Right Diecast Restoration Paint
The world of diecast restoration paint can seem daunting at first, but with the right knowledge, you can achieve stunning results. Selecting the correct paint is crucial for both aesthetics and the longevity of your restoration project. Factors to consider include the original paint type, the desired finish, and your personal experience level. Different paint types offer varying levels of durability, ease of application, and availability of colors. Understanding these differences will pave the way for a successful and satisfying restoration process. The right paint will not only enhance the visual appeal of your diecast model but also protect it from environmental damage, preserving its value and your efforts for years to come.
Types of Diecast Restoration Paint
Several types of paints are commonly used in diecast model restoration, each with its own set of advantages and disadvantages. These paints vary in their composition, drying times, durability, and the equipment needed for application. Choosing the right type depends on the specific project and your preferred techniques. Consider factors such as the desired level of detail, the need for a durable finish, and your comfort level with different application methods. Understanding the characteristics of each paint type allows you to select the best option for your particular diecast model, ensuring a high-quality finish that meets your expectations. Careful selection is key to a successful and rewarding restoration experience.
Enamel Paints

Enamel paints are a popular choice for diecast restoration due to their durability and ease of use. They are oil-based paints that dry through oxidation, forming a hard, glossy finish. Enamels are known for their excellent coverage and resistance to chipping, making them ideal for models that will be handled frequently. They also offer a wide range of colors and are relatively easy to apply, even with a brush. However, enamel paints have a longer drying time compared to other types, and the fumes can be strong, requiring adequate ventilation. Despite these drawbacks, their durability and forgiving nature make them a favorite among many restorers, especially those new to the hobby.
Acrylic Paints
Acrylic paints are water-based and dry quickly, making them another excellent choice for diecast restoration. They offer a low-odor alternative to enamels, and clean-up is simple, requiring only water. Acrylics are known for their versatility, allowing for both brushing and airbrushing techniques. They provide a smooth, even finish and are available in a vast array of colors, including metallic shades. While acrylic paints are generally less durable than enamels, modern acrylic formulations have improved their chip resistance. Additionally, acrylics are easier to work with for intricate details and can be layered quickly. Their quick drying time makes them a convenient option for projects requiring multiple coats or detailed work.
Lacquer Paints
Lacquer paints are solvent-based and known for their extremely fast drying times and high gloss finishes. They offer excellent durability and can produce a stunning, mirror-like shine, ideal for show-quality restorations. Lacquers are often favored for their ability to replicate factory finishes accurately. However, lacquers require careful handling due to their strong fumes and the need for specialized thinners and equipment, such as an airbrush. The fast drying time can make application challenging, and mistakes can be difficult to correct. Despite these challenges, the superior finish and speed of lacquer paints make them a choice for experienced restorers aiming for professional-grade results.
Paint Application Methods

The method you choose to apply your diecast restoration paint significantly impacts the final result. Different application techniques cater to various skill levels and desired outcomes. Factors such as the type of paint, the complexity of the model, and the availability of equipment influence your decision. Mastering these methods will not only enhance the appearance of your model but also improve the overall quality and durability of the paint job. Practicing and experimenting with different techniques is essential to finding the method that best suits your needs and preferences. The key is to achieve even coverage and a smooth finish, which can be accomplished through careful preparation and execution.
Brushing
Brushing is a straightforward method suitable for beginners or for detailed work on smaller areas. It involves using a paintbrush to apply the paint directly to the model’s surface. Brushing is ideal for achieving precise color application and for tackling intricate details, such as trim and small parts. It requires minimal equipment, making it accessible to anyone. However, brushing can leave brush strokes if not done carefully. Using high-quality brushes and applying thin, even coats is key to minimizing these imperfections. It’s also important to choose a paint that levels well, allowing the paint to flow and smooth out during drying. Although it may take longer than other methods, brushing is a practical and cost-effective approach for many restoration projects.
Spraying
Spraying, typically done with an airbrush, provides a smooth, even finish that’s hard to achieve with a brush. This method is especially advantageous for larger surfaces and when a factory-like finish is desired. Spraying requires an airbrush, an air compressor, and a well-ventilated workspace. It allows for precise control over paint application, minimizing brush marks and creating a professional look. Mastering airbrushing requires practice and patience, but the results can be exceptional. Thinning the paint to the correct consistency and maintaining a consistent distance from the model are critical for achieving optimal results. Spraying is the preferred method for many restorers seeking a flawless, durable finish.
Dipping

Dipping is a less common but effective method for applying paint to certain types of diecast parts, especially those with intricate shapes or hard-to-reach areas. This involves immersing the model or its parts in a paint bath. Dipping ensures complete and even coverage, which is particularly beneficial for small details. However, this technique requires a sufficient quantity of paint and is typically best suited for specific parts or smaller models. It is less suitable for detailed color schemes or models with delicate components. The paint must be properly thinned and the dipping process executed carefully to avoid paint buildup or runs. Although it is a specialized technique, dipping can produce outstanding results for certain restoration projects.
Surface Preparation for Paint
Thorough surface preparation is the most crucial step in diecast restoration, as it directly impacts the final paint job’s quality and durability. Neglecting this stage will likely result in imperfections, such as peeling, bubbling, or an uneven finish. The goal is to create a clean, smooth surface that allows the paint to adhere properly. This involves cleaning the model, removing old paint, and ensuring the surface is free of contaminants. Proper preparation may be time-consuming, but the effort invested here pays dividends in the long run, resulting in a professional-looking restoration. Taking the time to prepare the surface correctly is the key to achieving a flawless, lasting finish.
Cleaning the Diecast Model
Before any paint is applied, thoroughly cleaning the diecast model is essential. This removes dirt, grease, and other contaminants that can interfere with paint adhesion. Start by washing the model with warm, soapy water, using a mild detergent. A soft-bristled brush can help remove stubborn dirt. Rinse the model thoroughly to remove all soap residue and allow it to dry completely. For more stubborn grease or grime, you may need to use a degreaser. Avoid using harsh chemicals that could damage the metal or plastic parts. The goal is to create a clean surface that the paint can bond to effectively, ensuring a smooth, long-lasting finish.
Removing Old Paint

Removing the old paint is necessary to prepare the surface for a fresh coat. Several methods can be employed, depending on the type of paint and the model’s condition. Chemical strippers are effective but require caution, as they can be harsh and may damage plastic parts. Apply the stripper according to the manufacturer’s instructions, and always wear gloves and eye protection. Alternatively, you can use a fine-grit sandpaper to gently remove the paint, working carefully to avoid damaging the details. For complex shapes, a combination of chemical stripping and sanding might be required. After removing the old paint, thoroughly clean the model to remove any remaining residue.
Sanding and Priming
Once the old paint is removed, lightly sanding the surface is often necessary to smooth out any imperfections and create a slightly rough surface for the primer to adhere to. Use fine-grit sandpaper, typically around 400-600 grit, and sand evenly. Priming the model is a critical step, as it provides a base for the paint, improves adhesion, and helps to create a uniform finish. Apply a thin, even coat of primer, allowing it to dry completely before proceeding to paint. Choose a primer that is compatible with the type of paint you plan to use. Priming also helps to identify any remaining imperfections, which can be addressed before applying the color coats. Proper sanding and priming are essential for achieving a professional-looking restoration.
Painting the Diecast Model
After preparing the surface, it’s time to apply the paint. The painting process involves several steps, including applying base coats, adding details, and, finally, applying any decals or markings. Achieving a professional finish requires patience and attention to detail. Applying thin, even coats is critical to avoid runs and drips. Allowing each coat to dry completely before applying the next will help prevent imperfections. Following the proper painting techniques and using quality paints and tools will significantly enhance your restoration project.
Applying Base Coats

Base coats are the foundation of your paint job, determining the model’s main color. Apply thin, even coats, allowing each to dry completely before applying the next. Multiple thin coats are generally preferable to a single thick coat, which can lead to runs or sags. Maintain a consistent distance from the model when spraying or brushing to ensure even coverage. If using an airbrush, adjust the air pressure and paint flow for optimal results. Patience is key. Allowing each coat to dry thoroughly will prevent imperfections and ensure a durable finish. The base coat establishes the color and provides a smooth surface for subsequent coats.
Applying Detail Coats
Detail coats enhance the realism and visual appeal of your diecast model. These coats involve adding accent colors, highlighting trim, and creating effects. Detail work often requires precision and the use of fine-tipped brushes or airbrushes. Masking tape can be used to protect areas that should not be painted. Take your time and work carefully to achieve clean lines and precise color placement. For intricate details, consider using stencils or dry transfers. The detail coats are where your model truly comes to life, transforming it from a basic repaint to a stunningly accurate replica.
Adding Decals and Markings
Decals and markings are essential for replicating the original appearance of many diecast models. Carefully cut the decals from the sheet, and apply them to the model’s surface. Use decal setting solutions to help the decals conform to the contours of the model and to eliminate air bubbles. Once the decals are dry, you can apply a clear coat to protect them and blend them seamlessly into the paint finish. Pay close attention to the placement of the decals, referencing photos or the original model. Adding decals and markings is a critical step, bringing realism and authenticity to your restoration project. This step requires patience and a steady hand.
Protecting the Paint Finish
Protecting your freshly painted diecast model is essential for preserving its appearance and value. This involves applying a clear coat and, optionally, polishing and waxing. A clear coat provides a protective layer against scratches, UV damage, and environmental factors. Polishing and waxing enhance the gloss and add an extra layer of protection. Taking these steps will ensure that your restoration efforts last for years to come. The goal is to maintain the shine and prevent the paint from fading or being damaged.
Clear Coating
Applying a clear coat is a critical step in protecting your paint job. The clear coat provides a durable, protective layer that shields the paint from scratches, UV rays, and environmental damage. It also enhances the shine and gloss of the paint. Use a clear coat compatible with the paint type you have applied. Apply thin, even coats, allowing each to dry completely before applying the next. Avoid applying too much clear coat at once, as this can lead to runs or a cloudy finish. After the clear coat has fully cured, you can lightly sand and polish it to remove any imperfections and achieve a mirror-like shine. This step helps to create a professional-looking finish that will last.
Polishing and Waxing
Polishing and waxing the clear-coated surface further enhances the shine and adds an extra layer of protection. Polishing removes minor imperfections and creates a smooth, glossy finish. Use a polishing compound and a soft cloth to gently buff the surface. Waxing then provides a protective barrier against scratches and environmental damage. Apply a thin layer of wax, following the manufacturer’s instructions, and buff it to a high shine. These steps are optional but highly recommended for achieving a professional-looking finish. Polishing and waxing will not only enhance the aesthetics of your model but also help to preserve it for years to come.
Troubleshooting Common Paint Problems

Even with careful preparation and application, paint problems can sometimes occur. Understanding common issues like runs, uneven coverage, and cracking can help you troubleshoot and correct these problems. Addressing these issues early ensures that your restoration project looks its best. Identifying and rectifying these problems will help you achieve a professional-looking result. Knowing how to fix common issues will greatly improve the quality of your restoration work and provide a more satisfying experience.
Paint Runs and Sags
Paint runs and sags occur when too much paint is applied at once, causing the paint to flow downwards due to gravity. These are often caused by applying too thick of a coat or holding the spray nozzle too close to the surface. To avoid runs, apply thin, even coats and allow each coat to dry before applying the next. If runs do occur, let the paint dry completely, then carefully sand the affected area with fine-grit sandpaper, and reapply the paint in thinner coats. Using the correct paint viscosity, adjusting spray gun settings, and maintaining the correct distance are the key to preventing this. Patience and a light touch are essential to achieving a smooth finish.
Uneven Paint Coverage
Uneven paint coverage results in areas with differing paint thickness or color intensity. This can be caused by several factors, including inconsistent spray patterns, improper thinning of the paint, or applying the paint too far away from the model. To remedy uneven coverage, ensure you are using the correct air pressure and nozzle settings. Apply thin, overlapping coats, and maintain a consistent distance from the model. If unevenness is noticed, allow the paint to dry, lightly sand the surface, and reapply the paint. Using proper techniques and equipment will minimize these issues, leading to a more uniform and visually appealing finish. Proper preparation and technique are key to avoiding this issue.
Paint Cracking or Peeling
Paint cracking or peeling can be a frustrating problem, often caused by applying paint over an improperly prepared surface or incompatible paints. It can also result from applying paint in extreme temperatures or humidity. To prevent cracking or peeling, ensure the surface is thoroughly cleaned, sanded, and primed before applying the paint. Use paints that are compatible with each other and avoid applying paint in conditions that are too hot or humid. If cracking or peeling occurs, the paint will need to be removed, the surface prepped again, and the paint reapplied. Adhering to proper preparation and using quality materials is essential to avoid this issue and achieve a long-lasting, durable finish.