Assessing Your Corgi Diecast Cars
Before diving into the restoration process, a thorough assessment of your Corgi diecast car is crucial. This initial step helps you understand the scope of the work required and plan your approach effectively. Proper assessment not only guides your restoration efforts but also sets realistic expectations for the final outcome. It is about understanding the car’s history and the extent of the damage it has sustained over the years.
Evaluating the Condition of Your Corgi Cars
Begin by visually inspecting the car from all angles. Look for obvious signs of damage such as dents, scratches, and missing parts. Examine the paintwork for chips, fading, and bubbling. Check the condition of the wheels, tires, and windows. Carefully note any areas where rust is present. Take pictures to document the condition of the car before you start the restoration process. This visual record will prove helpful in tracking your progress and for comparing before and after results. It will also serve as a reference throughout the restoration process.
Identifying Damage Types
Categorize the types of damage you observe. Common issues include paint damage (scratches, chips, fading), rust (on the body, chassis, or axles), missing parts (wheels, windows, decals), and mechanical issues (stuck wheels, broken axles). Recognizing the types of damage will help you determine the necessary tools, materials, and techniques for the restoration. Different damage types require different solutions, so accurate identification is key. For instance, rust removal calls for specific chemicals, while paint damage necessitates careful preparation and repainting. Having a clear understanding of the problems will also assist in estimating the time and cost involved.
Gathering Restoration Supplies
Having the right tools and supplies is essential for a successful restoration. Proper preparation streamlines the process, ensuring a smooth and enjoyable experience. This not only saves time but also contributes to the quality of the final result. By gathering all the necessary items beforehand, you can avoid interruptions and focus on the task at hand.
Essential Tools for Corgi Restoration
You’ll need a variety of tools for disassembling, cleaning, and repairing your Corgi car. These include a small screwdriver set (various sizes), pliers (needle-nose and regular), a hobby knife or X-Acto knife, fine grit sandpaper (various grades), a wire brush, and cotton swabs. Also, consider having a heat gun or hairdryer for removing decals and a small container for soaking parts. A magnifying glass can be invaluable for detailed work and a well-lit workspace is a must. A steady hand and patience are equally important tools in this endeavor.
Recommended Cleaning Solutions
Choosing the right cleaning solutions is important to avoid damaging the delicate surfaces of your Corgi car. For general cleaning, use mild dish soap mixed with warm water. For removing stubborn grime, you might consider using isopropyl alcohol (rubbing alcohol), but test it on a hidden area first to ensure it doesn’t affect the paint. For rust removal, consider specialized rust removers available at hardware stores, but always follow the manufacturer’s instructions carefully. Avoid using harsh chemicals that could damage the paint or plastic components. A gentle approach to cleaning will yield the best results.
Disassembly and Cleaning Process
Disassembling and cleaning your Corgi diecast car is a critical step in the restoration process. It allows you to address each component individually, ensuring a thorough and detailed restoration. This careful approach not only improves the final result but also prevents causing further damage during the process. Taking your time at this stage pays dividends in the long run.
Careful Disassembly Techniques
Start by carefully removing all removable parts such as wheels, axles, windows, and interior components. Take photos before disassembling to help you remember how everything fits together. Use the appropriate screwdriver to loosen screws and avoid stripping them. If parts are glued, apply heat from a hairdryer or heat gun to soften the adhesive, making them easier to separate. Store the parts in labeled containers to avoid losing them. Be patient and methodical; rushing this step can lead to broken parts or damage. Remember to work in a well-lit area and to take breaks when needed.
Effective Cleaning Methods
Once disassembled, clean each part individually. Use warm soapy water and a soft brush to remove dirt and grime. For more stubborn dirt, use isopropyl alcohol, applying it gently with a cotton swab. Rinse the parts thoroughly with clean water and dry them completely before moving on. Pay close attention to crevices and hard-to-reach areas. Cleaning ensures a good surface for any further work, such as rust removal or painting. This meticulous cleaning process is vital for a high-quality restoration.
Rust Removal Techniques
Rust can be a major issue for old diecast cars. If you find rust on the body or chassis, address it carefully. For light rust, use fine-grit sandpaper or a wire brush to gently remove the rust. For more severe cases, consider using a chemical rust remover. Follow the manufacturer’s instructions and wear appropriate safety gear, such as gloves and eye protection. After rust removal, thoroughly clean the area and apply a rust inhibitor to prevent future corrosion. Be gentle and avoid removing too much metal during the process. Careful rust removal is crucial to preserving the structural integrity of your Corgi car.
Bodywork and Paint Restoration
Restoring the bodywork and paint of your Corgi diecast car is a transformative step. It’s where the car starts to regain its original beauty and charm. This process brings back the car’s visual appeal, making it a joy to behold. With patience and the right techniques, you can achieve results that will impress even the most discerning collectors.
Repairing Dents and Scratches
Minor dents can often be gently pushed out from the inside using a small tool or the handle of a screwdriver. For deeper dents, you might need to use body filler. Apply the filler, let it dry, and then sand it smooth with fine-grit sandpaper. For scratches, use fine-grit sandpaper to smooth out the damaged area. Feather the edges of the scratch to blend it with the surrounding paint. If the scratch is deep, you might need to apply a primer before repainting. Careful preparation ensures a smooth, even surface for painting.
Choosing the Right Paint
Selecting the correct paint is essential for a professional-looking finish. Ideally, you want to match the original paint color as closely as possible. You can consult online resources or hobby shops to identify the original color codes for your specific Corgi model. Acrylic lacquer paints are often a good choice for diecast cars. They are easy to apply and dry quickly. Alternatively, enamel paints offer durability. Consider the finish, whether it’s gloss, satin, or matte, and choose the appropriate paint type for your project. Always test the paint on a small, hidden area first to ensure compatibility.
Applying and Finishing Paint
Before painting, clean the car body thoroughly to remove any dust or debris. Apply thin, even coats of paint, allowing each coat to dry before applying the next. Multiple thin coats are better than one thick coat, as they reduce the risk of runs or drips. Use a spray booth or a well-ventilated area to prevent dust from settling on the wet paint. Once the paint is dry, you can polish the surface to achieve a glossy finish. Use a polishing compound and a soft cloth to gently buff the paint. Protect the paint with a clear coat for added durability and shine. Patience and attention to detail are vital for achieving a flawless paint job.
Decal and Detail Restoration
Restoring the decals and fine details of your Corgi diecast car is an important step in bringing it back to its original glory. This process can add a layer of authenticity to your restoration, allowing you to appreciate the original design. The details can transform a restored car into a true collector’s item.
Sourcing Replacement Decals
If the original decals are damaged or missing, sourcing replacements is important. Several online retailers and hobby shops specialize in providing decals for classic Corgi models. Research the specific model and year of your car to ensure you get the correct decals. You might also find replacement decals on online auction sites. Be sure to carefully inspect the decals before purchasing to ensure they are in good condition and accurate to the original design. Taking the time to find the right decals will dramatically improve the final look of your restoration.
Applying Decals Accurately
Applying decals accurately requires a steady hand and patience. Carefully remove the decal from its backing and position it on the car body. Use a small brush or cotton swab to smooth out any air bubbles. Be sure the surface is clean and free of any debris before applying the decal. Some decals may require water to activate the adhesive. If so, dip the decal in water and then carefully apply it to the car. Use a decal setting solution to help the decal conform to the contours of the car body. Take your time and avoid rushing this process. Applying decals carefully will ensure your Corgi diecast car looks its best.
Reassembly and Final Touches
Reassembling your Corgi diecast car is the culmination of all your restoration efforts. This step is about bringing the car back together, appreciating the transformation, and adding those final touches to complete the project. It is also a critical step in ensuring the car is fully functional.
Reassembling the Car
Carefully reassemble all the parts you disassembled earlier. Refer to your photographs and any documentation you have to ensure everything goes back in the correct order and orientation. Take your time and avoid forcing any parts. If you encounter any resistance, double-check your assembly to see if something is misaligned. Make sure all screws are tightened securely, but avoid over-tightening them, which could strip the threads. Reassembly is about putting all the pieces of the puzzle back together, which highlights your progress and restores the car’s functionality.
Final Inspection and Detailing
Once the car is reassembled, give it a thorough final inspection. Look for any imperfections, such as smudges, fingerprints, or misaligned parts. Use a soft cloth to wipe down the car and remove any dust or debris. Detail the car by adding any remaining accessories, such as headlights, mirrors, or door handles. This is also the time to carefully clean the windows and wheels. Minor detailing can make a big difference in the overall appearance. Inspecting and detailing is about adding the finishing touches to reveal the car’s beauty.
Displaying and Preserving Your Restored Corgi Cars
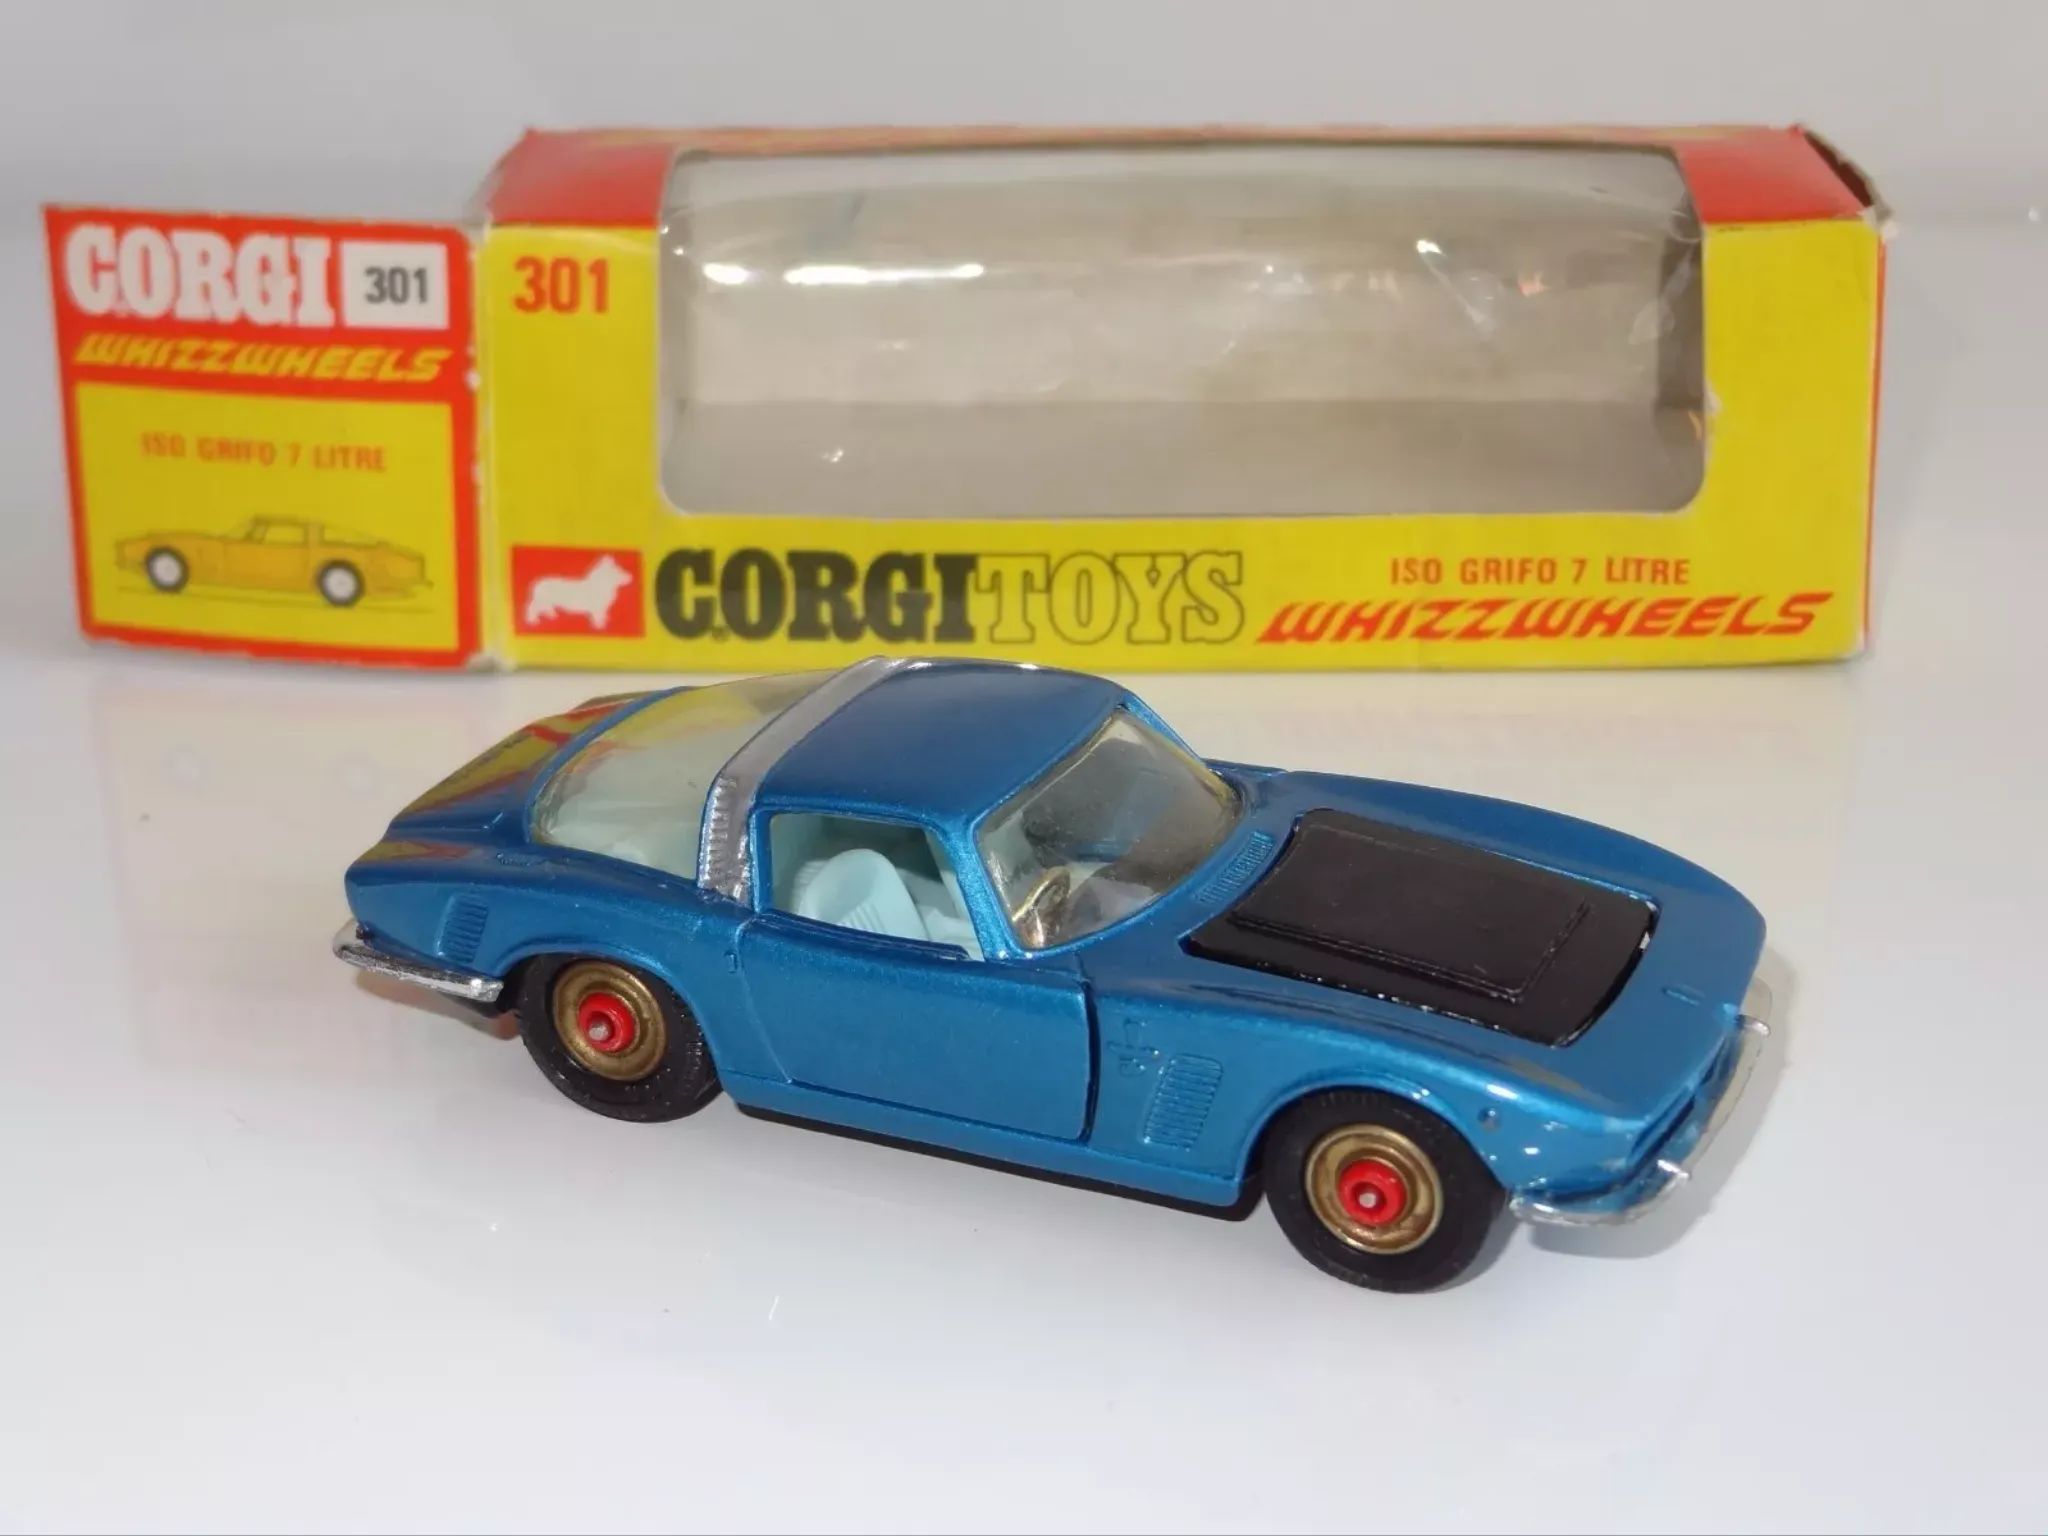
Once you have finished restoring your Corgi diecast car, it’s time to show off your handiwork. Proper display and preservation are important to protect your investment. Displaying your restored cars enhances your enjoyment and ensures their value over time. Taking the time to care for your newly restored car ensures your hard work lasts.
Consider displaying your restored cars in a display case to protect them from dust and damage. Keep the case out of direct sunlight to prevent fading. Handle the cars with clean hands to avoid leaving fingerprints. Store your cars in a cool, dry place, away from extreme temperatures or humidity. Rotate your display periodically to showcase different cars. Take the time to appreciate the history and artistry of your restored Corgi cars, and enjoy the fruits of your labor!
