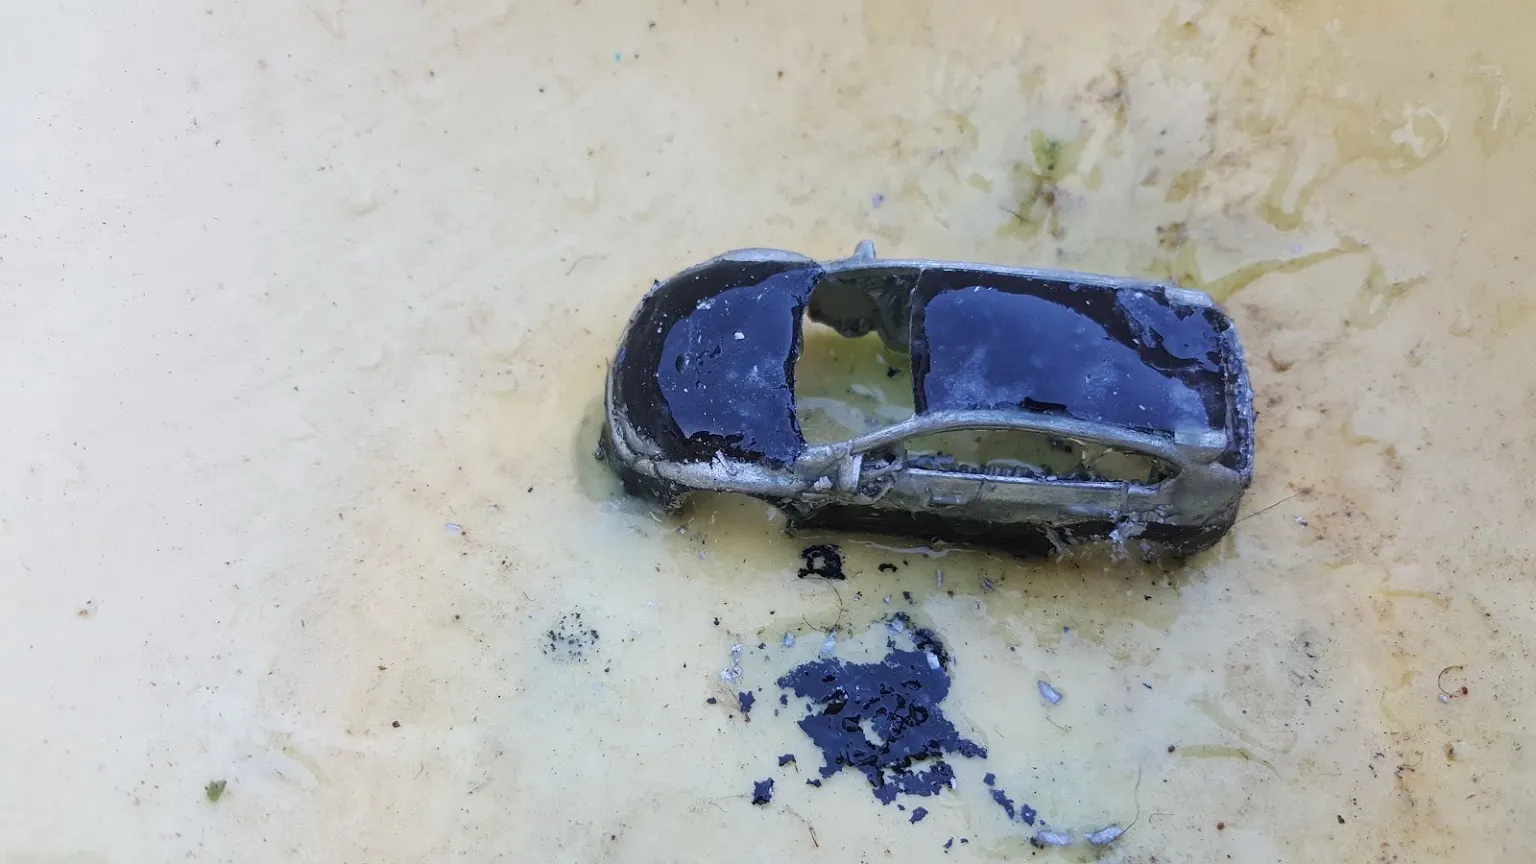
What You’ll Need To Paint Diecast Cars
Painting diecast cars can be a rewarding hobby, allowing you to customize and restore your favorite models. Before you begin, gather the necessary tools and materials to ensure a smooth and successful painting process. Proper preparation is key, so take the time to get everything ready before you start. This will also help you avoid issues during the painting process. With the right equipment and a little patience, you can achieve professional-looking results. This guide will show you the best way to paint diecast cars, step by step.
Essential Tools for Painting
Having the right tools makes a world of difference in the quality of your paint job. You’ll need items like a hobby knife or screwdriver set for disassembly, fine-grit sandpaper (various grades), primer, your chosen paints, a high-quality airbrush or spray cans, a respirator mask for safety, and a well-ventilated workspace. Don’t forget a tack cloth to remove dust, and some kind of stand or holder to position the car during painting. Investing in good quality tools will pay off in the long run.
Choosing the Right Paint
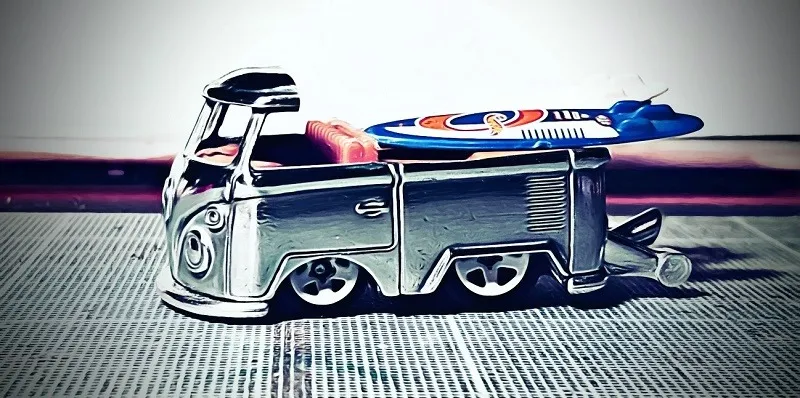
Selecting the correct type of paint is crucial for durability and finish. Acrylic lacquers, enamels, and acrylic enamels are all popular choices. Consider the drying time, ease of use, and the finish you desire. The paint should be specifically designed for use on plastic or metal. Always read the manufacturer’s instructions before use. Also consider the color range that the paint manufacturer offers, so you can pick the colors you desire for your paint job.
Types of Paints for Diecast Cars
Acrylic lacquers are known for their quick drying times and smooth finishes, making them a favorite among modelers. Enamels offer excellent durability and a classic look, but they take longer to dry. Acrylic enamels combine the benefits of both, providing a good balance of drying time and durability. Always make sure that the paints you’re using are compatible with your primer and clear coat, to avoid reactions.
Paint Finishes and Their Effects
Different finishes can drastically alter the look of your diecast car. Gloss finishes provide a shiny, reflective surface, great for replicating a new car appearance. Matte finishes offer a more subdued, realistic look, perfect for vintage or racing models. Semi-gloss finishes provide a balance. The choice depends on the look you’re trying to achieve. You can also mix paints to create your custom look, but make sure to always test your mixes on a test surface before application.
Preparing Your Diecast Car
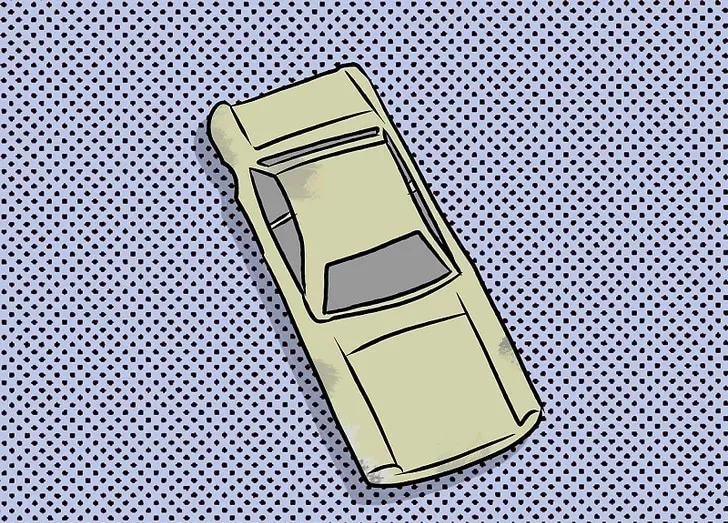
Preparation is the most critical step in achieving a flawless paint job. This involves disassembling the car, cleaning all the parts, and preparing the surface for paint. Taking your time and doing this properly will prevent imperfections like bubbling, peeling, or uneven coats. The goal is to provide a clean, smooth surface that the paint can adhere to effectively.
Disassembly and Cleaning
Carefully disassemble your diecast car using the appropriate tools. Remove any parts that you don’t want painted, such as windows, tires, and interior components. Clean all parts with warm, soapy water to remove dirt, grease, and any old paint. Rinse thoroughly and let everything dry completely. Use a soft brush to get into hard-to-reach areas. Make sure to take pictures of the car before disassembling it so you can see how it goes back together!
Surface Preparation Techniques
Once the car is clean, address any imperfections. Use fine-grit sandpaper to smooth out any scratches, blemishes, or raised areas. You can use a filler or putty for larger imperfections. This step is crucial for a smooth finish. Then, use a tack cloth to remove any dust or sanding residue before priming. The quality of the surface preparation will directly impact the final look.
Sanding and Priming Your Car
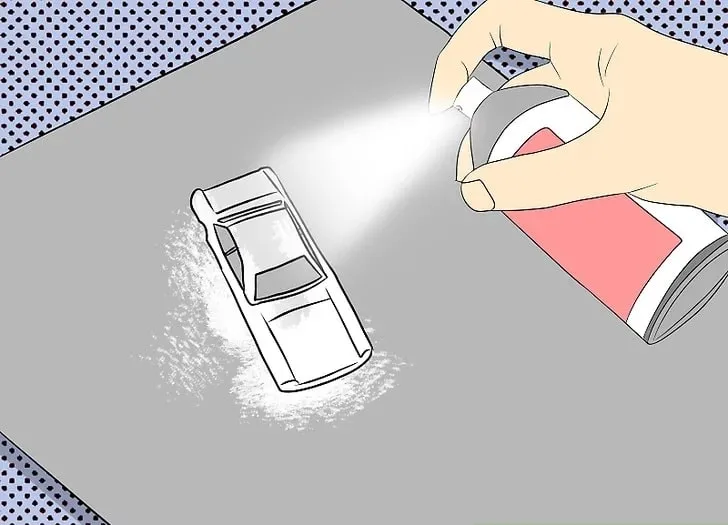
Start sanding with a coarser grit and gradually move to finer grits. This ensures a smooth surface. Apply a thin, even coat of primer. Primer helps the paint adhere to the metal surface and provides a uniform base. Allow the primer to dry completely according to the manufacturer’s instructions. Lightly sand the primed surface with fine-grit sandpaper to remove any imperfections and ensure a smooth finish. This step also aids in getting the color to adhere properly.
Applying the Paint
Painting is where your diecast car transforms. Whether you use an airbrush or spray cans, proper technique is essential. Apply thin, even coats of paint, allowing each coat to dry before applying the next. This prevents runs and ensures a smooth, professional finish. Working in a well-ventilated area and wearing a respirator are crucial for your health. The right technique makes all the difference.
Spraying Techniques for Even Coats
If using an airbrush, maintain a consistent distance and angle. Move the airbrush in smooth, even strokes, overlapping each pass slightly. For spray cans, use the same technique, keeping the nozzle a consistent distance from the surface. Avoid spraying too much paint in one area, which can lead to runs and drips. Multiple thin coats are always better than one thick coat. Practice on a scrap piece first to get the hang of it.
How to Avoid Common Painting Problems
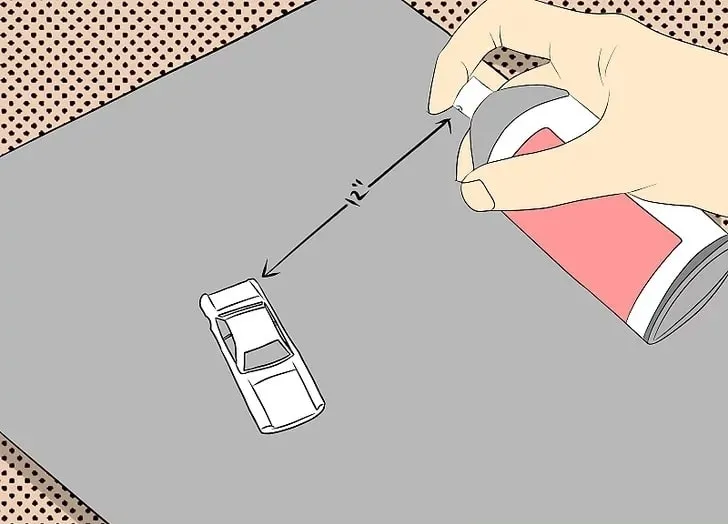
Runs and drips are caused by applying too much paint at once. Blisters and bubbles can result from painting in humid conditions or over a surface that isn’t clean. Orange peel is often caused by incorrect air pressure, too much paint, or the paint drying too quickly. To avoid these problems, ensure your workspace is clean and dry, use thin coats, and follow the paint manufacturer’s instructions. If you do get any issues, let the paint dry, sand the issue down, and re-apply the paint.
Layering and Drying Time
Apply multiple thin coats, allowing each coat to dry completely before applying the next. This helps build up the color and provides a more durable finish. The drying time varies depending on the type of paint, humidity, and temperature. Always refer to the paint manufacturer’s instructions for recommended drying times. Be patient and let each layer cure properly.
Finishing Touches and Detailing
Once the paint has completely dried, you can add a clear coat, decals, and other details. The clear coat protects the paint and provides a smooth, glossy finish. Decals add realism and allow you to customize the car to your liking. This is where you bring the model to life and add the final touches. This is the most fun part of the process and allows you to create a unique model.
Clear Coating and Polishing
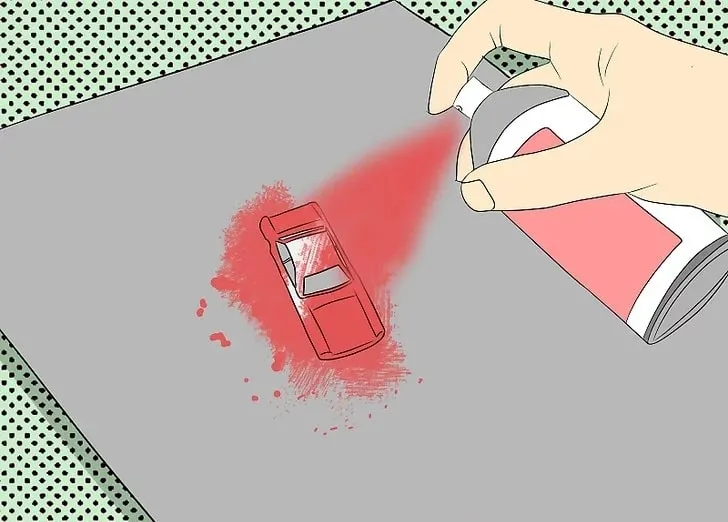
Apply a clear coat to protect the paint and add a glossy finish. Use a spray can or an airbrush, applying thin, even coats. Allow the clear coat to dry completely. Then, you can polish the clear coat to remove any imperfections and achieve a smooth, glossy surface. Polishing can be done by hand or with a rotary tool. Always make sure the clear coat is completely dry before polishing to get the best results. Different types of clear coat can be used, depending on the look you want.
Reassembly and Final Inspection
Once the paint and clear coat are dry, carefully reassemble the diecast car. Inspect the car for any imperfections. If you find any, you can touch them up with paint and clear coat. Make sure all the parts fit together properly and that the car looks as good as it can. This is the time to add any finishing details. Take your time and enjoy the final result.
Adding Decals and Details
Apply decals and other details to the car. Use decal setting solutions to help the decals adhere properly. Use detail paints and brushes to add details like lights, emblems, and trim. This is the fun part, so don’t be afraid to get creative! The details bring the model to life and make it unique. Always take your time and work with a steady hand.
Maintaining Your Painted Diecast Car
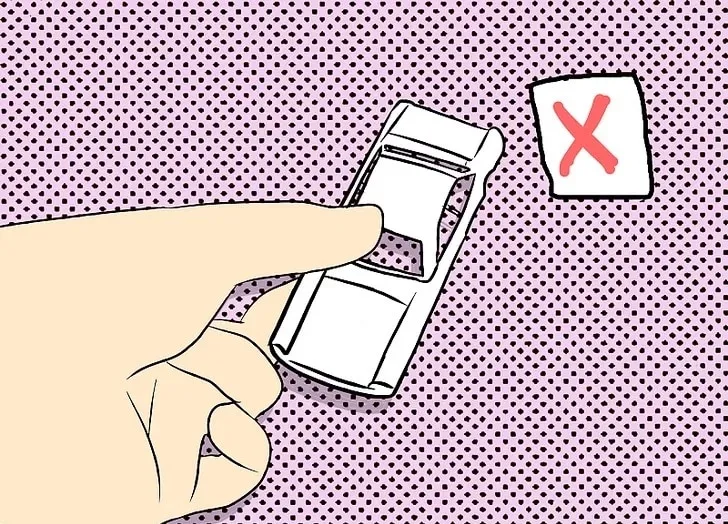
To keep your painted diecast car looking its best, handle it with care and protect it from dust, sunlight, and extreme temperatures. Clean it gently with a soft cloth and avoid using harsh chemicals. Store your models in a display case or a cool, dry place. With proper care, your painted diecast car will remain a prized possession for years to come. Regular maintenance will ensure your models last longer.
